1. Canva – A start-to-finish design program perfect for non-designers
Probably our most-used image tool at Buffer, Canva makes image creation super easy (especially for non-designers) with their premade templates, custom image sizes for every social media channel, drag-and-drop interface, cool fonts, and more. Most every original image you see shared from our social accounts was made in Canva.
Tip: If you know the exact dimensions of the image you want, create a custom size before clicking into any of the premade templates.

Additional start-to-finish image tools:
2. Skitch – Screen capture and annotation
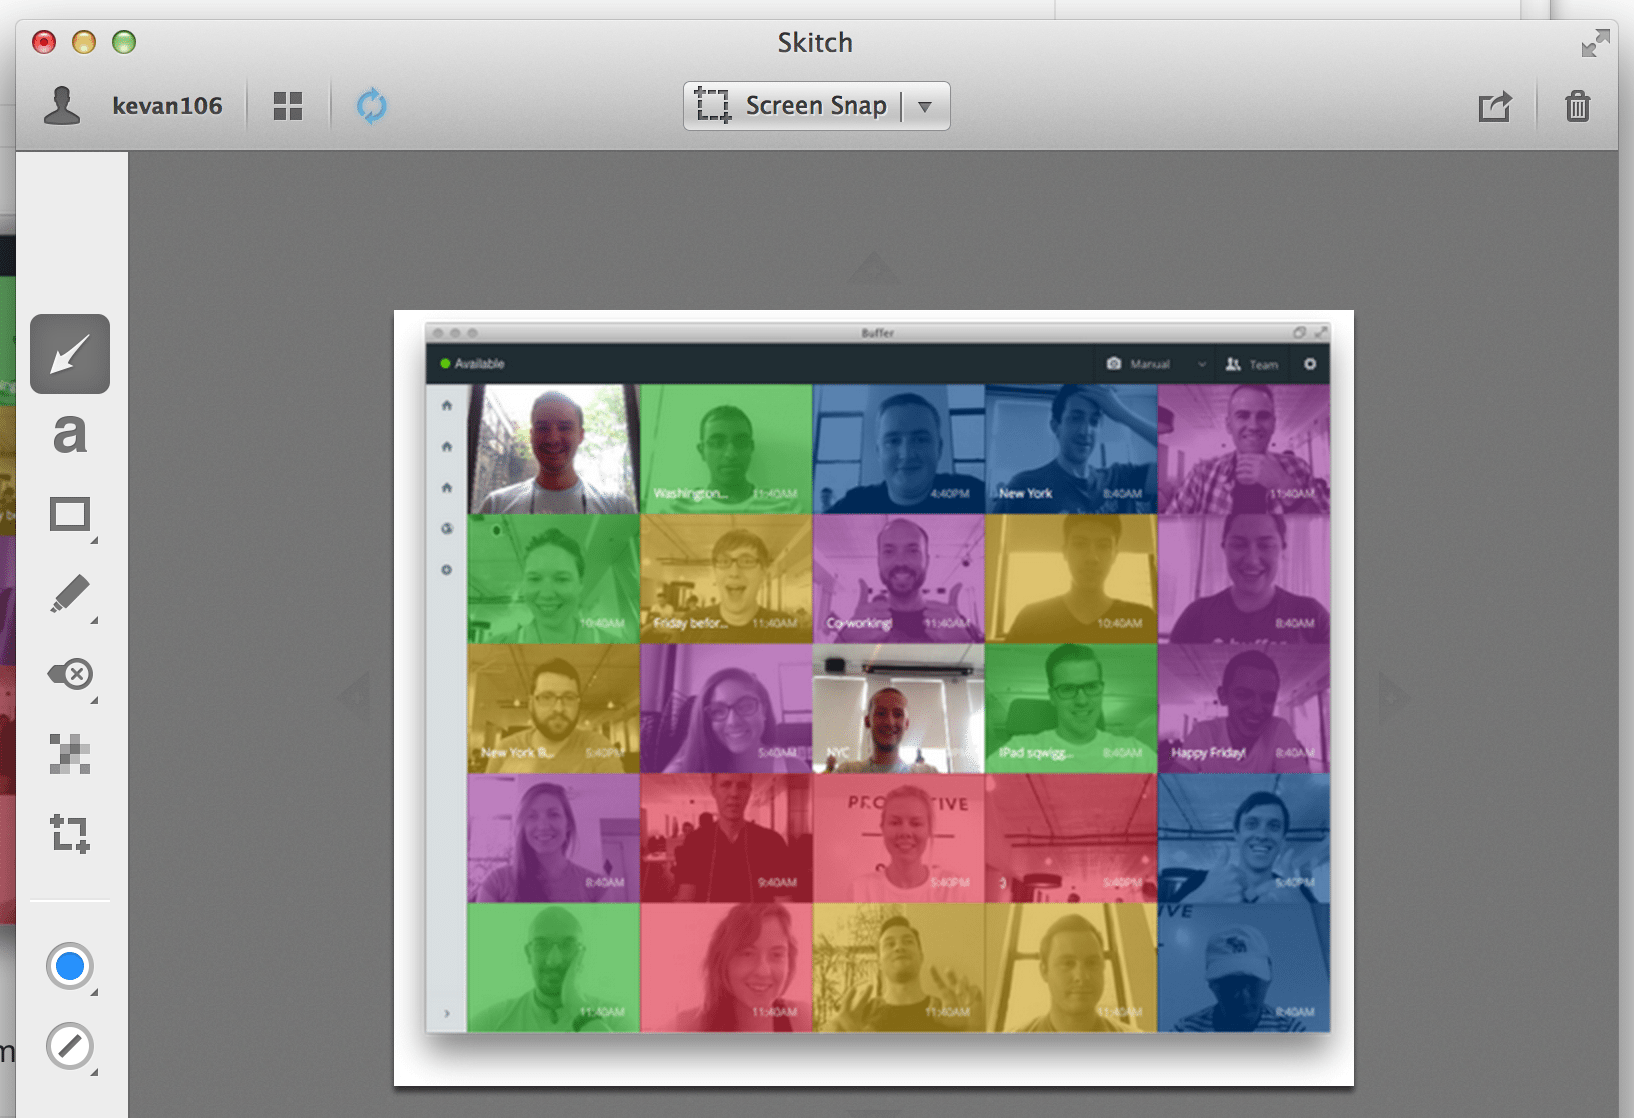
Our go-to screenshot tool, Skitch pops up with a quick keyboard shortcut (Cmd+Shift+5 on Macs), then you can click and drag over the area you want to snip. We keep coming back to this tool because of the awesome and easy annotation features. You can circle things, point to things, blur things, and add text with just a couple quick clicks. A product of Evernote, Skitch lets you save and store all screengrabs into an Evernote folder of your choosing.
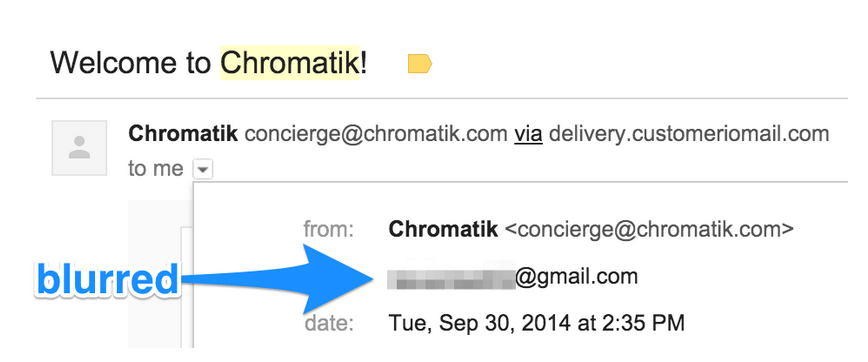
Tip: Use the blur feature anytime you’re sharing an image with your email address or personal details.
Additional screen capture tools:
- Jing – Does video, too
- Clipular (one of a handful of helpful browser extensions)
- Keyboard shortcuts
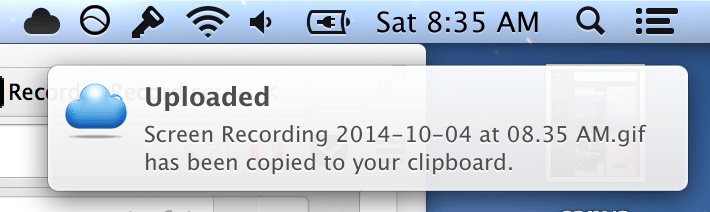
3. CloudApp – Fast and easy screencast GIFs

We use this tool a ton for our internal image sharing at Buffer. CloudApp lets you store images online and link to them quickly and easily for fast sharing. Their new Mac app—a free download—comes with even more advanced features like screengrabs and GIF creation. With the app open, you can press Cmd+Shift+6 to make a GIF video of anything you do on your screen.
Tip: Once the image creation is finished, CloudApp can automatically put the image URL onto your clipboard. Ask CloudApp for the download URL, and you can quickly paste and download whenever the image is ready.
Additional screen capture GIF makers:
4. PowerPoint – Easy image software (meant for something else)
Presentation software might not be the first thing that comes to mind for image creation, yet there are a large number of amateur designers who get great use out of creating images via the templates and tools baked right into PowerPoint.
Think of slides as images. And then consider how easy it is to edit slides in PowerPoint. You can set photos as slide backgrounds, add text and colors, and place icons and graphics. When you save the slide in PowerPoint, choose to save as an image, and you’ll be set.
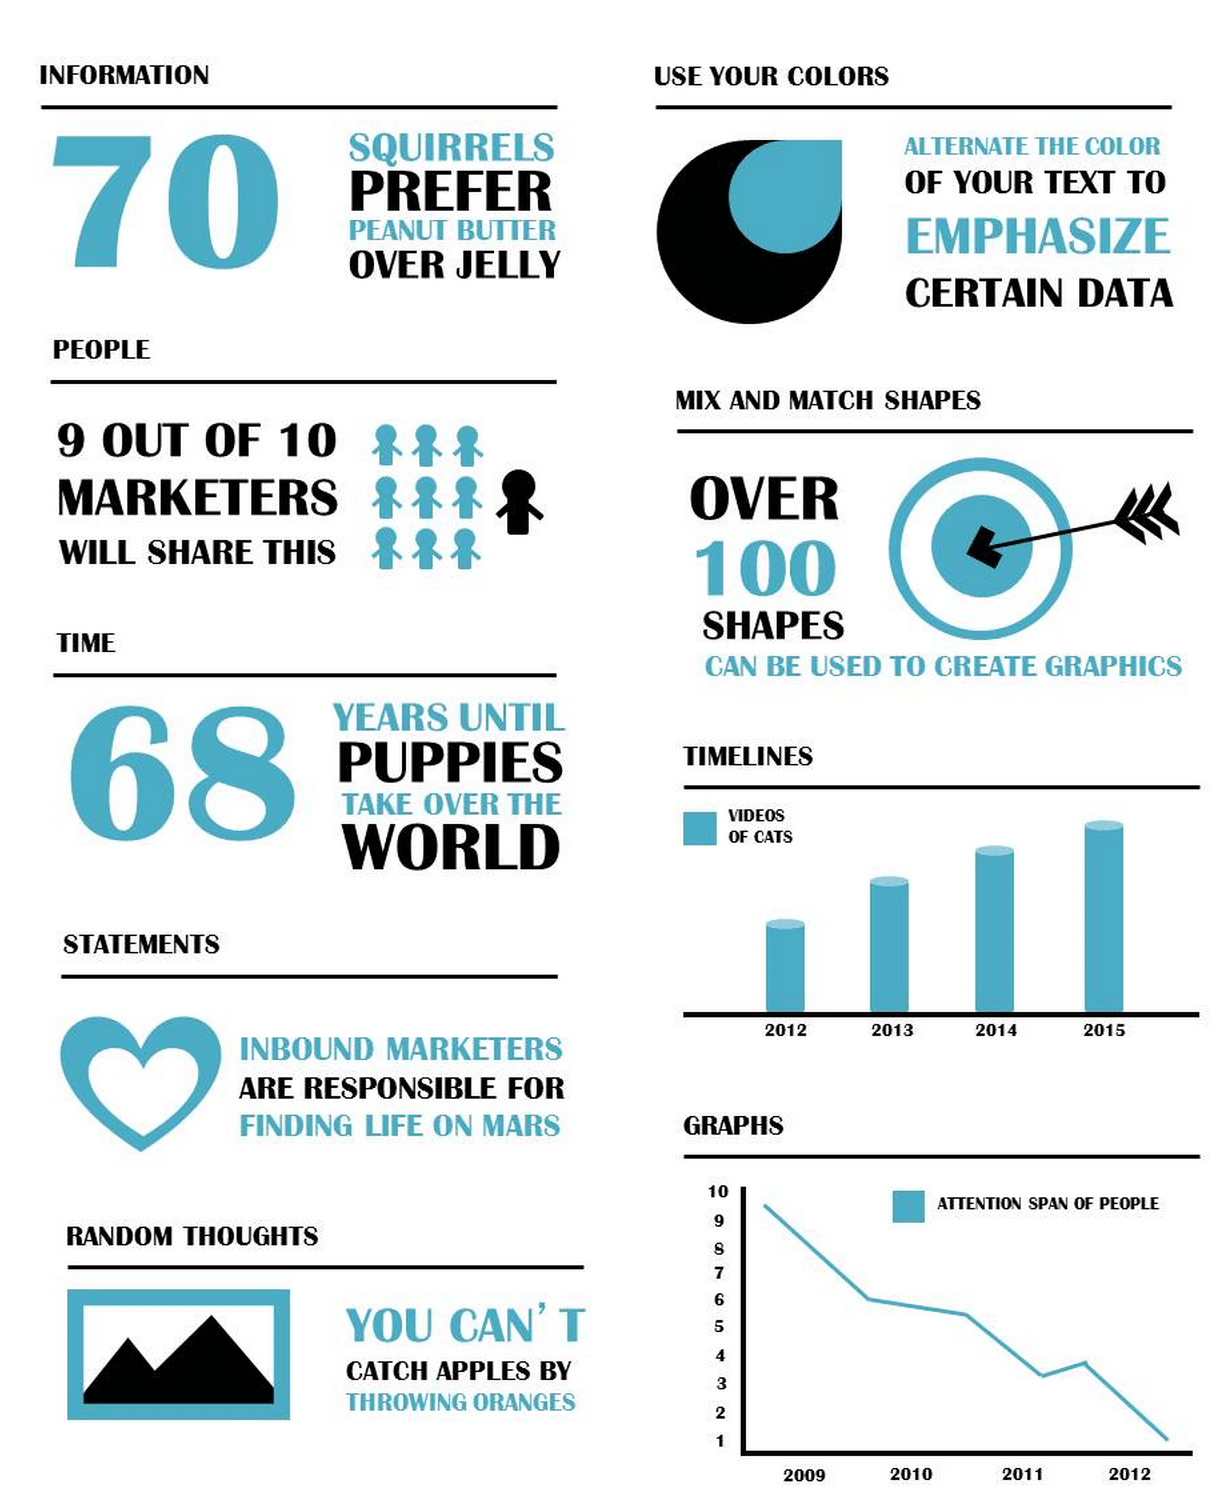
Tip: HubSpot offers some excellent starting templates for building infographics with PowerPoint. Here’s an example of what’s possible:
Additional full-featured image-editing software tools:
- Keynote – PowerPoint alternative for Mac
- Google Drive – Presentations – the cloud-based presentation tool from Google
- Photoshop
- GIMP – Free and open source photo editor as close to Photoshop as you can get
- Pixelmator
- CameraBag
- Picasa
5. Easel.ly– Drag-and-drop infographic creation
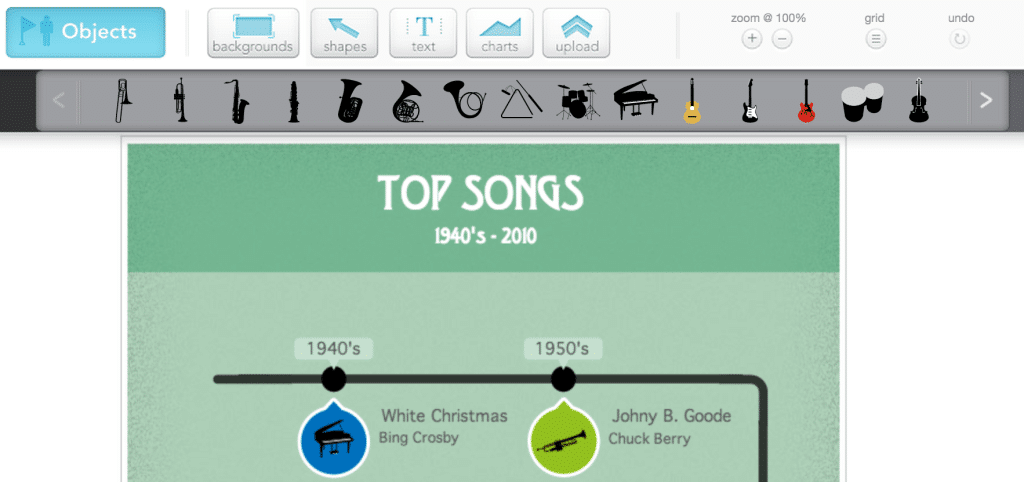
Easel.ly’s interactive layouts allow you to embed charts, photos, and more. You can get started with a prebuilt template (and then customize yourself) or you can go truly bare bones and build the entire infographic however you see fit. Easel.ly comes with a huge number of icons, shapes, and objects that you can drag-and-drop into your editor.
Additional infographic tools:
- Infogr.am – Embed video, maps, charts, and more into your infographic
- Visual.ly – Connect with professional designers to help with your project
- Piktochart – Create custom infographics from scratch, or use a pre-made template
7. Placeit – Integrate your website or app inside cool stock photos

For creating beautiful images that feature your home page, blog, app, or service, Placeit provides some neat integrations with your web address and their photography and video. Choose a background from Placeit’s library, then upload a screenshot or give Placeit a URL to grab in order to insert your site into the image.
Placeit does the rest. You can download or embed your new creation anywhere.
Tip: The Interactive Video option at Placeit will embed your full website into the window, and users can scroll through the site just as if they were visiting the page in their browser.
8. Social Image Resizer Tool – Ideal image sizes for every social channel
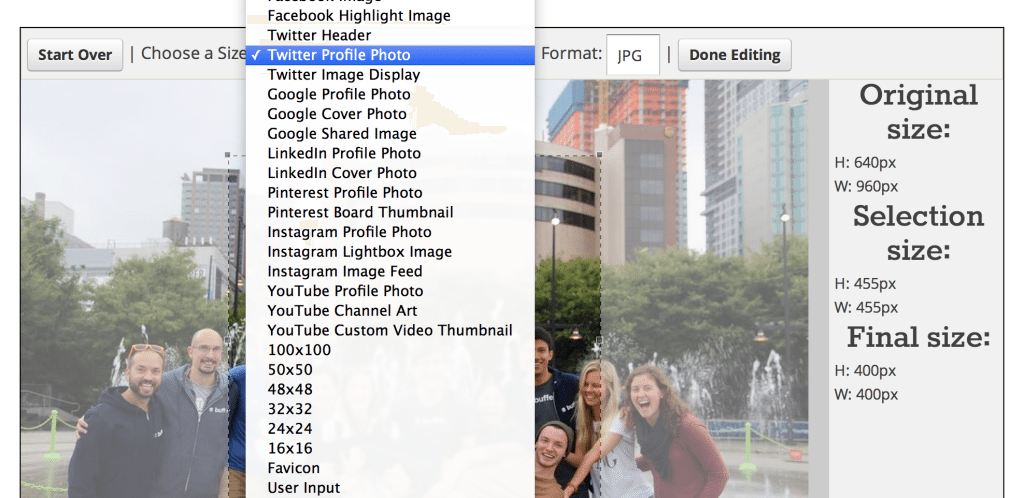
There are a huge number of different sizes and aspect ratios that work best on different social networks. Twitter photos are best at a 2:1 ratio. Facebook prefers images to be more square. Pinterest and Google+ love vertical images.
You can keep this all sorted with a tool like Social Image Resizer. Upload your desired image, then choose from a huge drop-down list of options and places where you might like to use the image. You can move and scale the selected area to grab the optimal look for your image.
Here are the social networks that the tool supports:
- Google+
- YouTube
Tip: You can click and drag to create a custom image size as well. Image Resizer informs you of the new dimensions as you move and resize the borders.
Additional options for creating ideal images for different social networks:
- Social Media Image Maker
- SizzlePig
- Timeline Slicer – Facebook tool for page and profile imagery
9. Smush.it – Image optimization for file size and quick loading
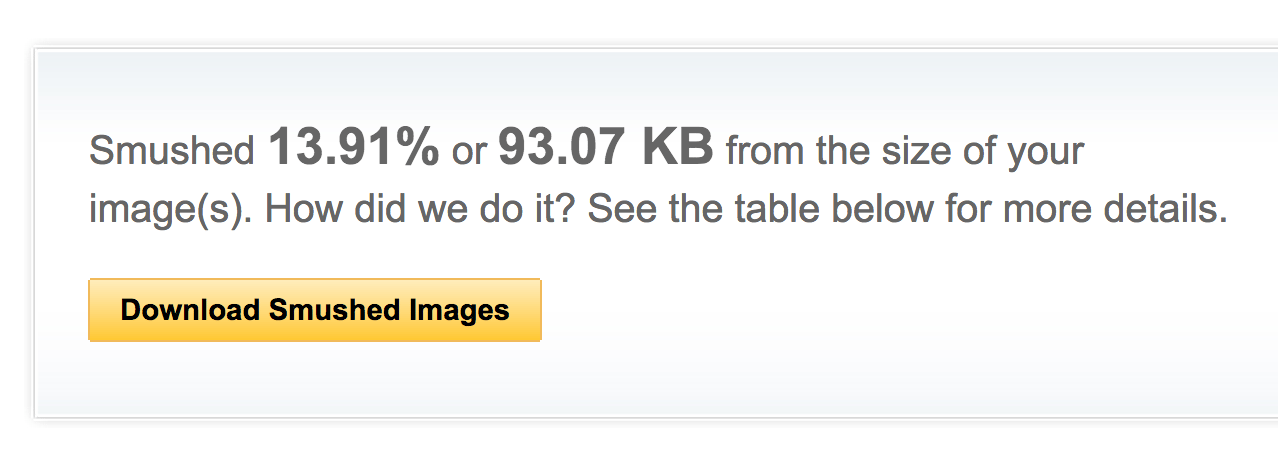
We use a lot of large images on our blogposts and social media at Buffer. We could stand to benefit from a tool like Smush.it.
Choose a file, upload it to Smush.it, and the tool compresses the image into a more optimal file size. These optimized images load faster on the page and make for a quicker upload when sharing to social media.
Tip: Smush.it also comes in a handy WordPress plugin to compress and optimize every image you publish to your blog.
Additional options for optimization and compression tools
- Image Optimizer
- Compress Now
- EWWW Image Optimizer – WordPress plugin
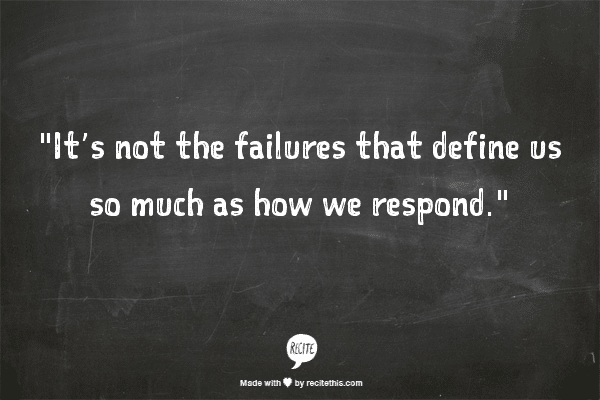
10. Recite – Create images from quotes
Some of our most shared content suggestions and most popular social updates are quotes. You can take quotes to the next level by creating images from them. At Recite, simply enter your quote into the editor on the homepage, and choose a layout from the long list of templates.
The end result can be something like this:
Additional tools to create images from text:
11. Page2Images – Full-page website grabber
If you’ve ever seen a web design that really grabbed you (and you happen to have a web design board on Pinterest or you share this kind of thing with your followers all the time), it’d sure be great to be able to grab the whole thing in one complete shot.
Enter Page2Images, a handy tool that takes a full-screen picture of a webpage and lets you easily download or add to Pinterest. There are a pair of bookmarklets that you can install by clicking and dragging the links to your bookmarks bar—one bookmarklet adds straight to Pinterest, and the other grabs the page as an image to download.
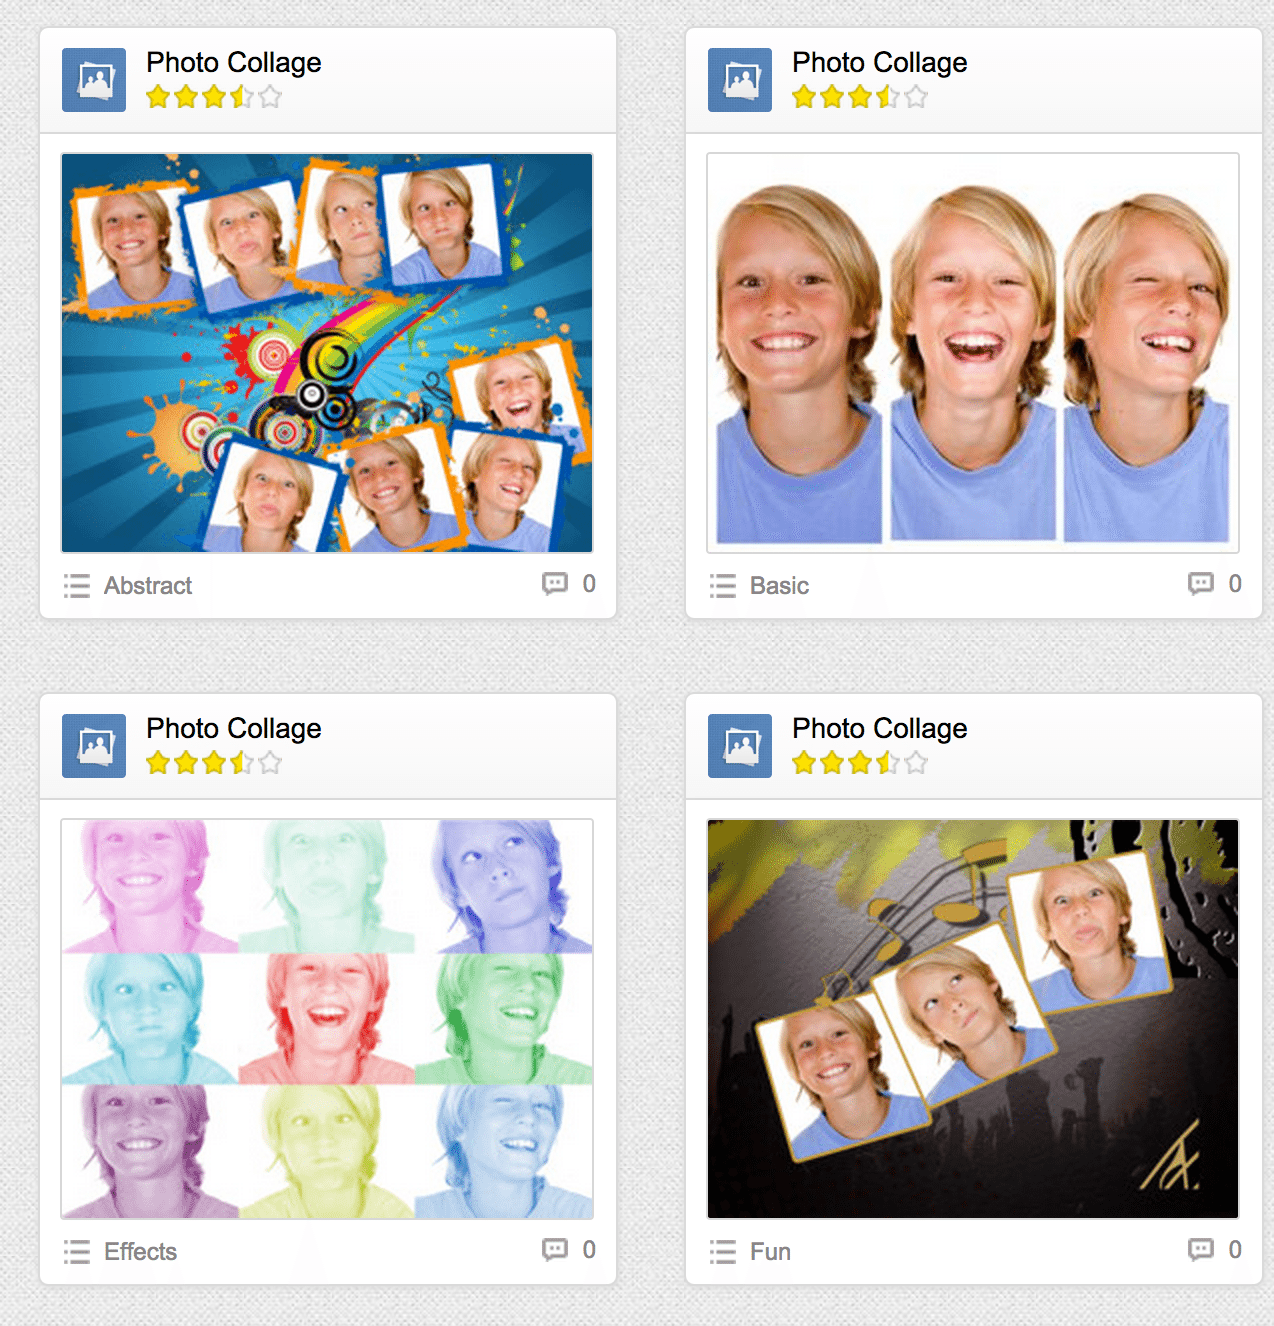
12. Photovisi – Collage maker
Image collages are big business for Instagram, and they’ve found their way to Twitter and Facebook, too. The latter two social networks have collage tools built in. If you’d like a little more control over the way your collages are handled, a tool like Photovisi would work wonders.
There’re many different templates to choose from, and you can customize not only the photos you use, but also any text, backgrounds, or graphics you wish to add to the collage.
Additional options for collage-making:
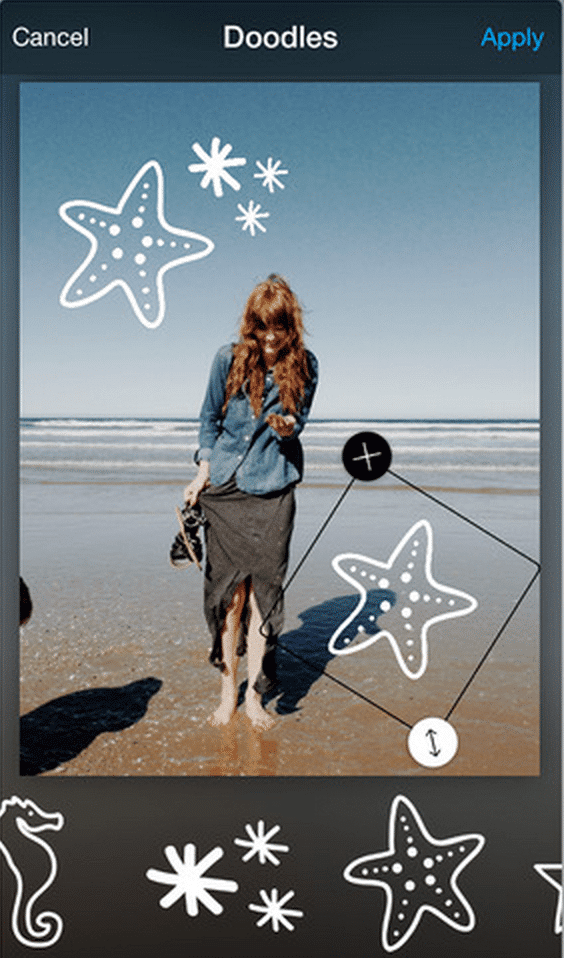
13. Over – Text onto photos
We’ve touched on how to turn text into images. How about sprucing up an image with text over the top?
The Over app for iOS and Android lets you choose any image on your device and customize with text, fonts, colors, and type sizes of your choosing. Here’s an example from the Over Instagram feed:

Additional options for adding text to images:
14. Infogr.am – Charts and graphs

When you write data-dense blogposts or research-backed articles, you might find yourself wishing to share data as an image. One of the best tools I’ve found for this is Infogr.am, which helps create infographics along with boasting a pretty robust charts and graphs editor.
You can choose the type of graph you wish to use and then edit the table cells and values directly from within Infogr.am.
Additional options for creating charts and graphs:
- Google Drive
- Excel
15. Aviary – Editing on-the-go from a mobile app
Aviary used to be a popular desktop image app, and not it’s been rolled into the suite of Adobe products and is available for other apps to use (for instance, MailChimp uses image editing by Aviary).
There’s still a handy mobile app for iOS and Android to help with image editing on-the-go.
In addition to the typical filters and effects you’d expect to find on a mobile image app, Aviary offers stickers and frames, drawing tools, memes, and crop, rotate, and straighten tools.
Additional options for designing images on mobile:
How to Create Images for Social Media – Resources
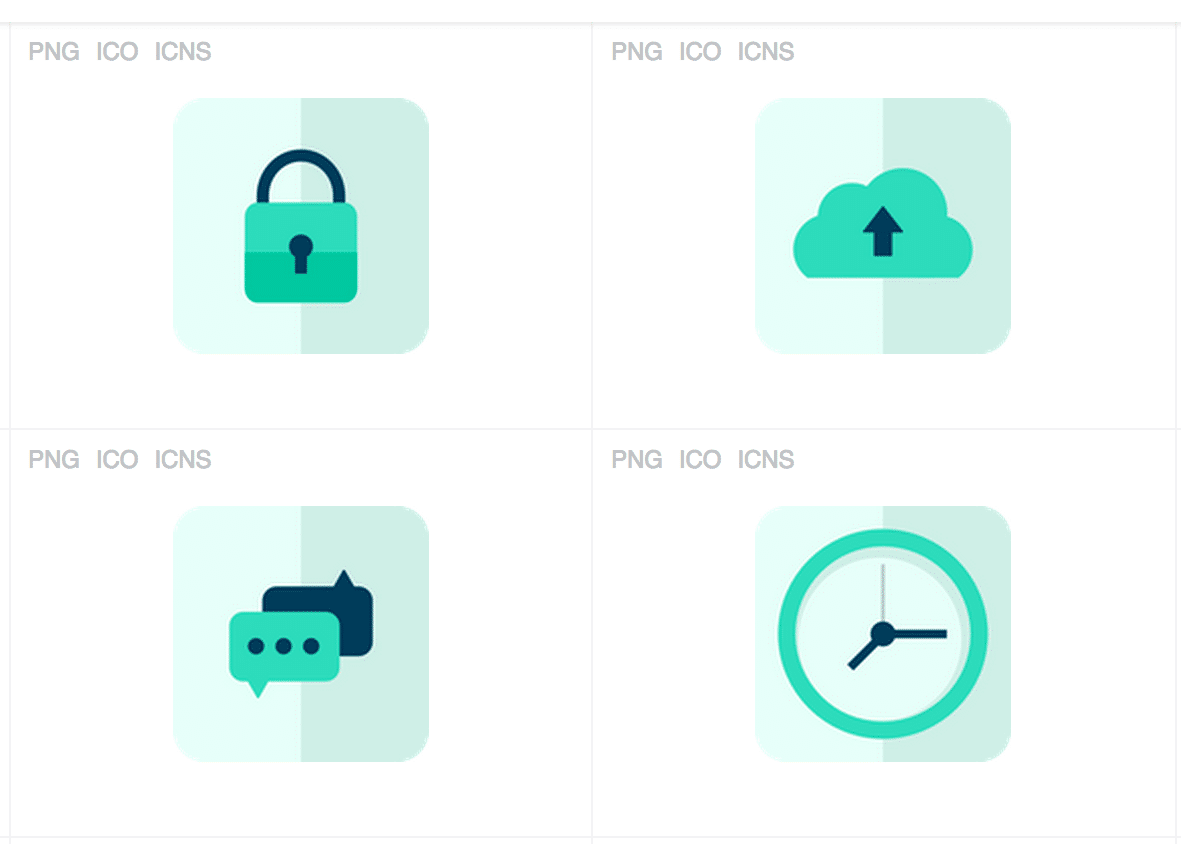
16. Iconfinder – Free, searchable icons
Discover the perfect icon for adding to your social media images. Search by keyword, then refine by format, style, size, and more. Apart from the premium icons, there is a huge selection of free-with-attribution icons to use.
17. Blurgrounds – Simple, beautiful blurred backgrounds
An offering from Inspiration Hunt, this set of 120 blurred backgrounds—free to download and use—comes in a huge range of colors and styles.

18. Noun Project – Huge library of icons in a minimal, glyph style
If you’ve read much of the 99U blog (one of our favorites!), you’ve likely noticed their cool icons that make for the cover image on their posts. Each one is made with Noun Project icons! The Noun Project library contains an incredible number of visual images that represent tons of words in the English language. With most available as a free download, the Noun Project makes attribution very clear and easy.

19. Subtle Patterns – Patterned backgrounds for free download
These pattern backgrounds are intended for websites, but I like to grab them for quick-and-easy image backgrounds, too. Find a favorite and screengrab the tiled background preview from the site. Then upload and add to your image editor.

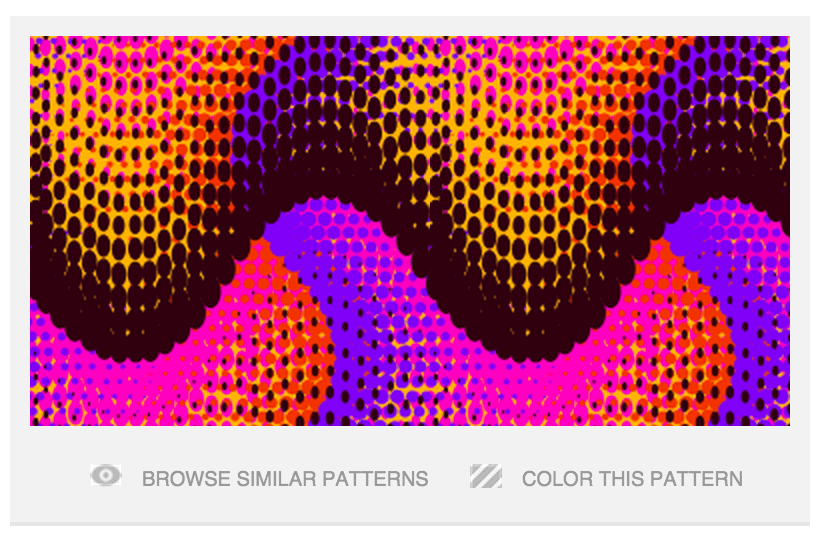
20. Pattern Library – Fun, free backgrounds
Like Subtle Patterns, the Pattern Library is also website-first. You can do the same trick here with the backgrounds you enjoy. Screengrab and use in the images you create. The Pattern Library offers full-tiled background previews to make screen grabbing easy.
21. Colourlovers – Color palette and pattern inspiration
One of the top web resources for colors, you can find any shade, tint, or hue here. And the community has placed these awesome colors into palettes and patterns.
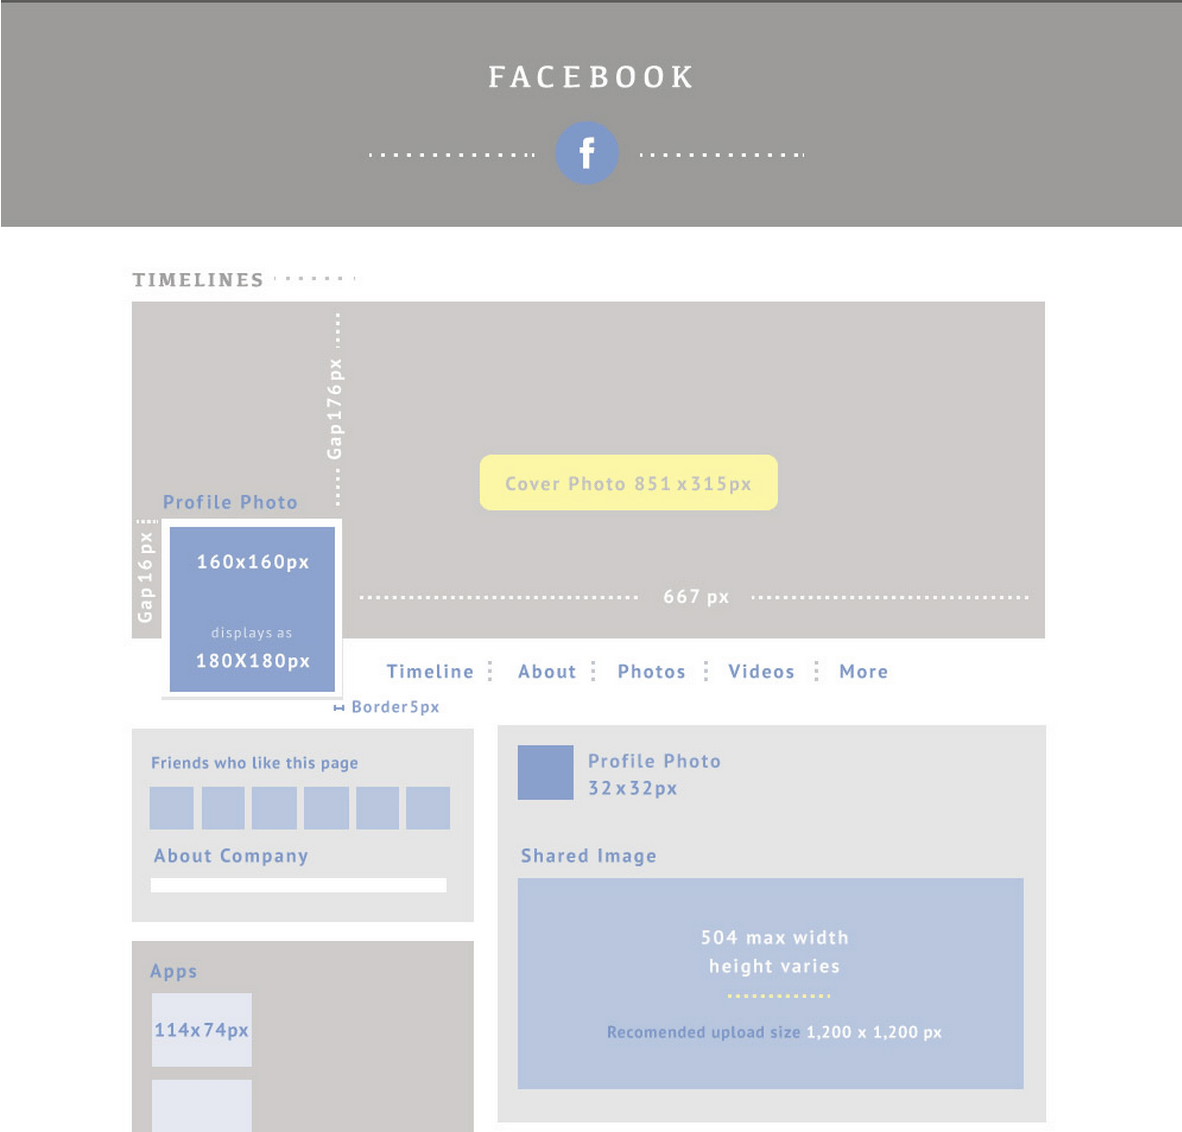
22. Omnicore’s Social Media Cheat Sheet – Guide to optimal image sizes
A quick reference for the right sizes to use in any social media post, the Omnicore guide covers all the vital details—updates, headers, avatars, etc.—and the Omnicore team refreshes the graphic constantly to stay current on the latest changes.
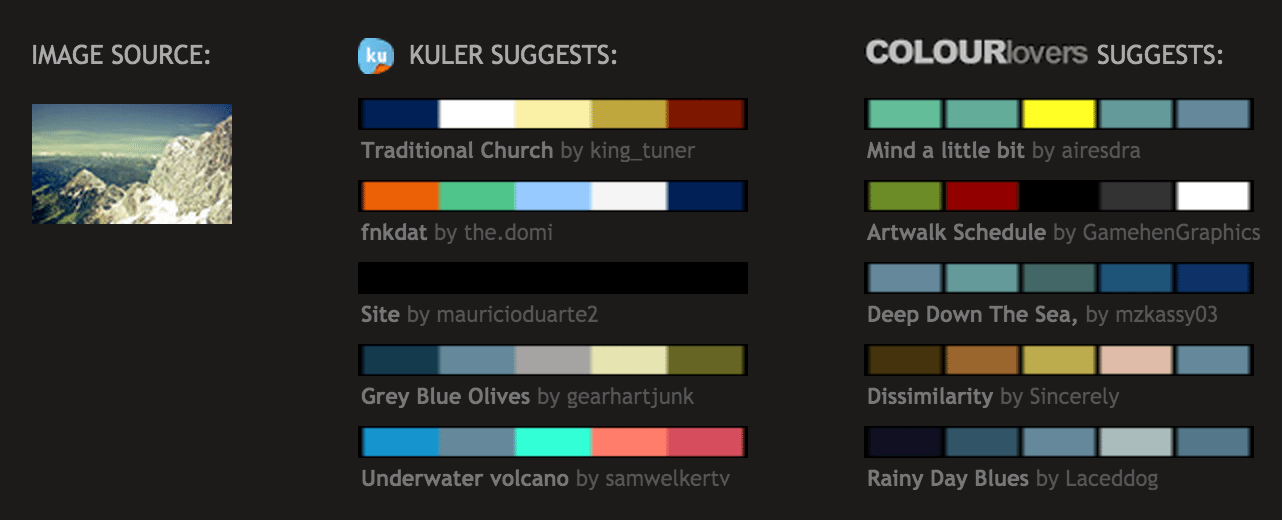
23. Pictaculous – Create a palette from any image
Let’s say you know the image you want to include in your graphic, and you’d also love some hints on which colors to use for frames, backgrounds, text, and icons. Upload the picture to Pictaculous, and you’ll get your answer. The tool studies your image and returns suggested palettes you can pick from.
Bonus: Stock photos – 53+ free image sources
You may find yourself needing some free imagery to use as well. We came up with an extensive list—more than 50 options—of free image sources where you can find professional images for free. A few of my favorites:
How we made the main image for this blogpost
Would it be helpful to see an example of all this together?
The main image for this post (see above or below) is one that I built from scratch using a handful of tools listed here in the post.

Here’s a quick rundown of how I made it:
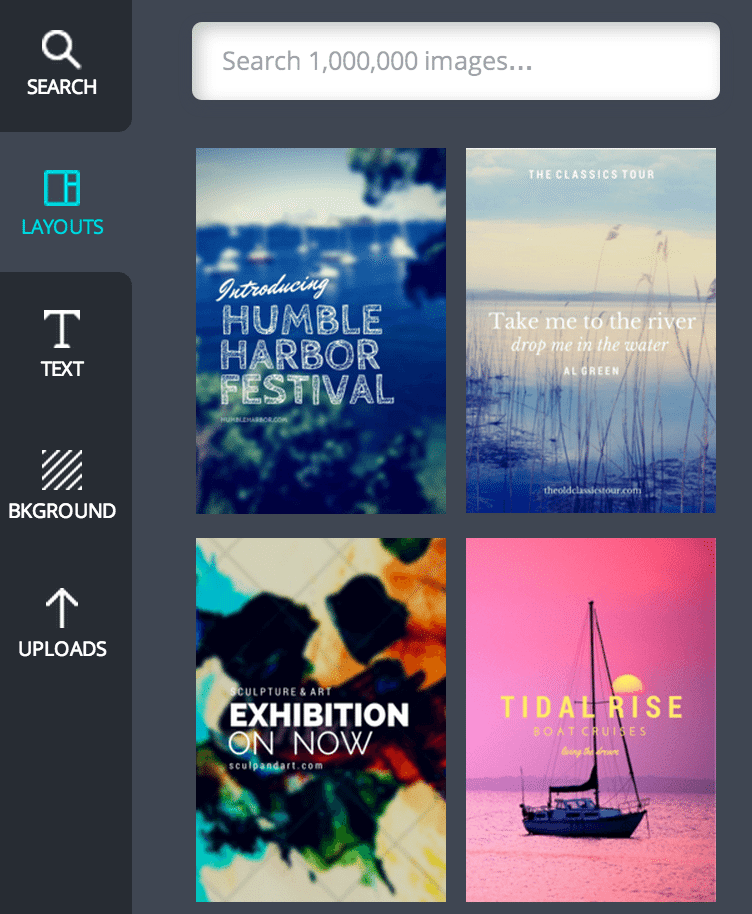
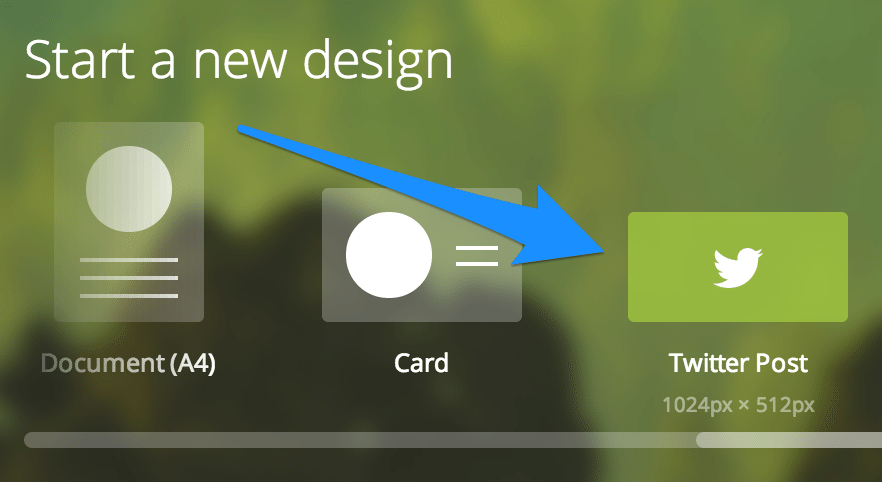
1. Open a new design in Canva.
I chose the Twitter Post template, which is 1,024 pixels wide and 512 pixels tall. This is the ideal 2:1 aspect ratio for Twitter images to show up in the feed without a crop. The size also works well for Facebook posts, so long as you mind the the left and right margins of your image, which may be cut off when Facebook resizes things.
If you make this type of image a lot, you can make a copy of an old image and then work from that specific template inside Canva.
2. Search Icon Finder for an icon that best represents the post.
I love using flat icons for these, so I start with a keyword search in Icon Finder and then refine the search by flat styles. Download the highest resolution version of the icon you choose, in .png format. Add attribution to your post at this time, too.
![]()
3. Drag the downloaded icon into Canva and place into your design.
Uploading in Canva is as simple as dragging from your desktop or folder and dropping into the Canva editor. Once the icon is uploaded, you can click on it from the left menu, and it will be placed automatically into your design. Resize and center at the top of the image.
4. Click into the Grids options, and select the full-image photo.
Adding this to your design will automatically make this design element expand to the full size of your design.

5. Find a blurred background to download and add to your design.
I often aim to find one that matches the colors of the icon in some way. I’ll download the image, then upload into Canva. To add it as a background to your design, you can drag and drop onto the full-image template you added in the last step. Canva will recognize automatically that you’re trying to add a background.
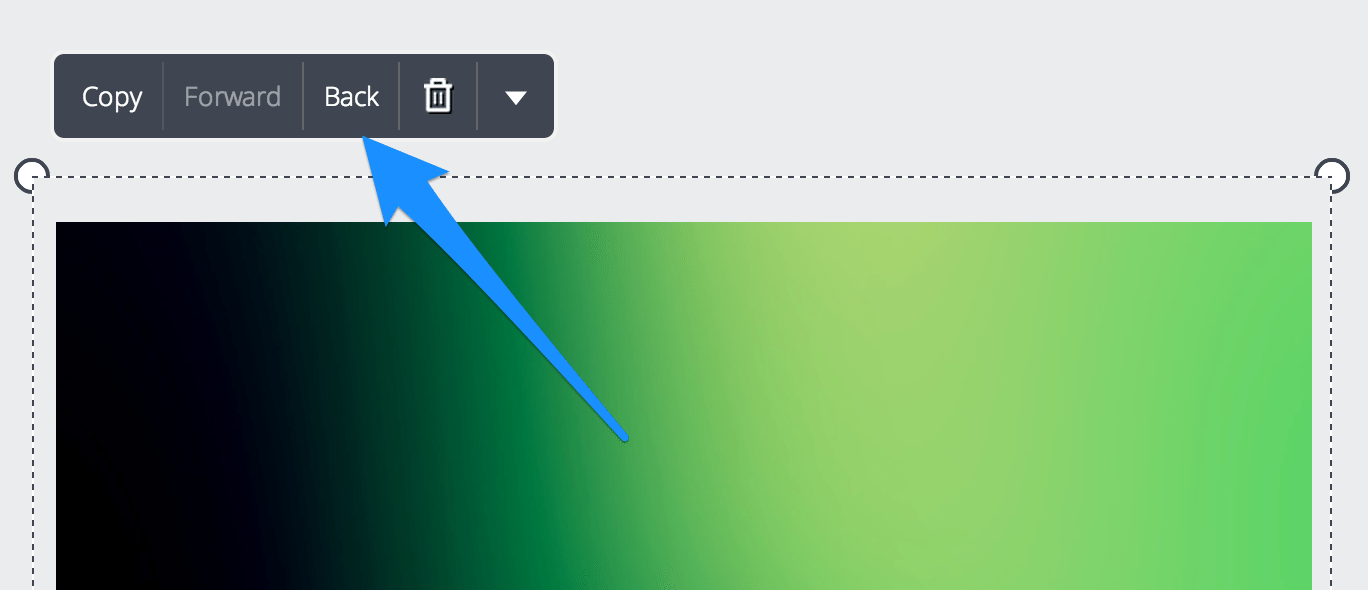
6. Move the background to the back.
This is all about layers. By moving your background to the back, your icon will be on top and viewable.
7. Add text and customize.
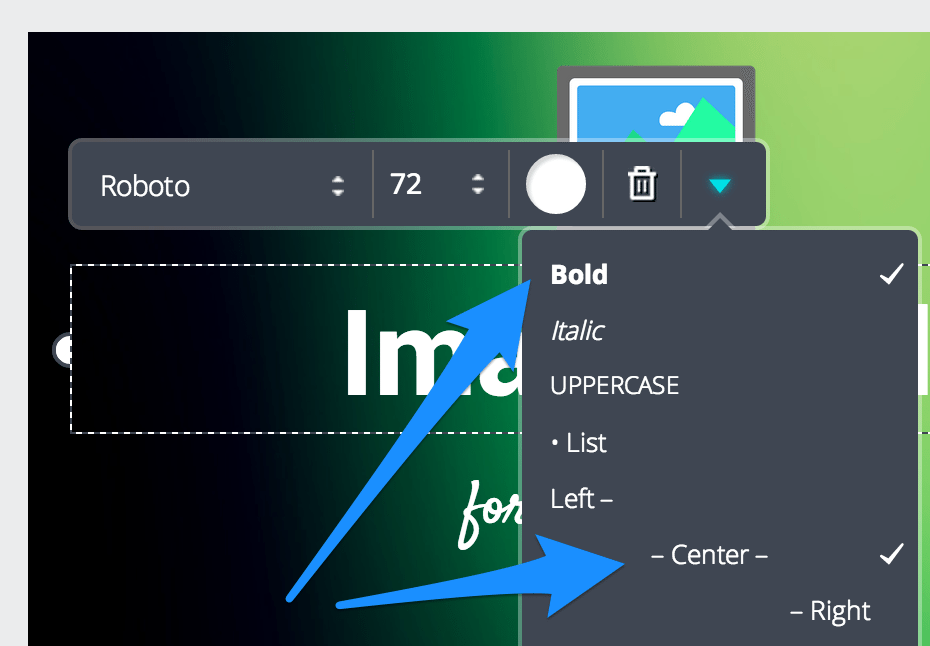
From the left menu, select two text boxes. One will be the main heading, the other will be the subhead. I like to vary fonts with a sans serif (no extra stems on letters) and a serif (stems). In the graphic here, I’ve used Roboto bold as the heading font and Satisfy as the subhead font.
To make a font bold or centered, you can click on the down arrow in the font dialog box to find the advanced options.
8. Download
Last step! When you’re finished, click the Download or Link button, and you’ll get a dialog box for downloading as an image (yes!) or a pdf (great for slideshares and presentations and ebooks). You can also share the link with a friend for collaboration or edits.